Whether you’ve recently become disabled or have a family member who uses a wheelchair, one of the priorities will be creating a living environment that accomplishes two objectives: removing obstacles and making daily tasks easier to accomplish.
In this guide, we share detailed tips on how to make a wheelchair accessible home! Let’s dive in.
Creating a Wheelchair Accessible Home: An Overview
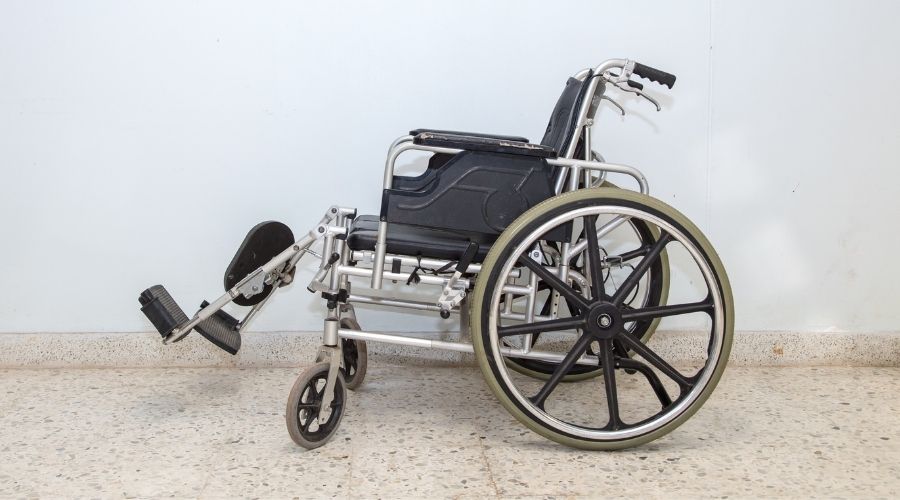
If you take a moment to glance around your humble abode, you’ll start to realize that making your home wheelchair-friendly is all in the details.
Because when you’re sitting in a wheelchair, something as simple as reaching for the light switch becomes a challenge or even rolling through a narrow hallway to reach a bedroom.
In short, learning how to make a house wheelchair accessible takes time and careful planning, analyzing the wheelchair user’s physical limitations, the size and capabilities of their chair, and the overall layout of the property.
Remember that modifications don’t have to be extreme. Everyone has different needs (and budgets). The wheelchair user might only be in a chair for a few months nursing an injury, or you might be planning in preparation for an aging family member.
Whatever the reason may be for redesigning a handicap-accessible house, even a few simple modifications can go a long way in making life easier for the user.
We take you step by step through the many different ways you can make your home wheelchair-friendly, starting with the doorways.
Wheelchair Accessible Doors
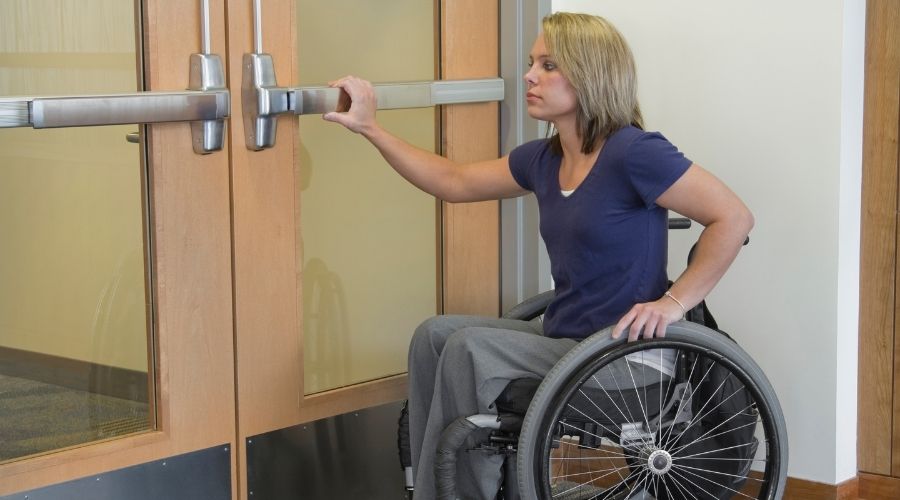
Trying to shimmy a wheelchair through a tight doorway is no fun, which is why the ideal width should be at least 32” to 36”, allowing a wheelchair to pass comfortably.
The standard home features doorways that are typically 23” to 30” wide, so how can this be fixed? Don’t call the wrecking ball company just yet– there are options!
One inexpensive way to create some space is to install offset hinges. Also called a “Z” hinge, it enables doors to swing clear, negotiating at least another inch of clearance.
Another easy option is to remove the door altogether or even remove the trim. If privacy is a concern, hang a curtain in the doorway instead.
Perhaps there is a sharp turn directly after the doorway, then you might need more clearance than 32” to make a clean turn. In that case, the best option is to widen the doorway.
This requires construction, including moving the light switches if they’re located close to the door.
If there is a threshold that makes it challenging for the user to roll up over it themselves, consider replacing it with a cushioned type that flattens out when the wheelchair moves over it.
Pro Tip: Some disabilities such as hand muscle atrophy prevent wheelchair users from being able to twist a traditional doorknob. A door handle is a better choice since it lifts up and down without much effort.
Wheelchair Accessible Hallways

Hallways are a bit trickier, needing a width of at least 36” to let a wheelchair pass. However, that measurement is meant for a straight hallway with no turns to enter rooms. But not every hallway is like this, which means the ideal width would probably be 48”.
If there is no other solution for the wheelchair user to avoid the hallway to get to their destination, then it will probably need to be widened.
Start by figuring out if one wall is load-bearing. If so, focus on shifting the non-load-bearing wall to save money and effort.
Bear in mind that if you must widen a hallway, unfortunately, you might have to change the adjoining rooms to accommodate the new width. However, if you need to widen the doors anyways, then you can consider it multi-tasking.
Besides ensuring there is enough space to comfortably pass through the hallways and make turns, it’s best to keep the area free of objects, including rugs, side tables, and low-hanging artwork. This creates obstacles that can cause injuries or damages.
Handicap Accessible Home Flooring
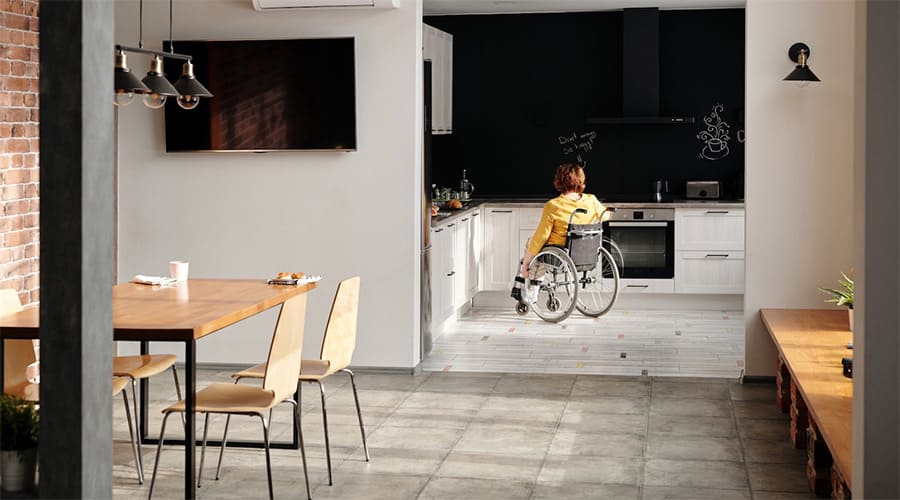
Accessible wheelchair flooring comes down to the big four: low maintenance, slip-resistant, durable, and easy to maneuver over. Here are our top choices for wheelchair-accessible floor materials.
- Laminate Flooring: This is one of the more affordable flooring options that are easy to maintain and is long-lasting. It’s also versatile, coming in all sorts of natural-looking stone or wood designs.
- Ceramic Tile Flooring: Ceramic tile is one of the easiest materials to maintain, especially in bathrooms and kitchens. It’s also not too expensive to install. Choose larger tiles to cut down on the bumpy ride over grout lines.
- Vinyl Flooring: This type of flooring comes as tiles or sheets, giving users a variety of patterns to choose from. While vinyl is cheap and slip-resistant, it does tend to show wear, especially marks from sharp edges.
- Carpet Flooring: The trick here is to install a commercial-grade carpet or low pile variety no more than ½ inch thick. Carpet that is too soft and thick creates wheel resistance.
Remember, area rugs are a no-no, as wheelchairs can snag or get stuck if one bunches up while rolling over it.
Wheelchair Accessible Lighting
Light switches are one of those small details that we don’t think about often, taking for granted the ease of simply flicking a tiny knob up or down for instant light.
But for wheelchair users, this isn’t easy to accomplish from a sitting position. And there are other issues from being low to the ground, such as dealing with glare.
The thing is, light switches and fixtures are placed in various locations around homes, typically without consistency. Therefore, you may not have to change all of them.
The best course of action is to go around the entire house with the wheelchair user, taking into account the placement of the switches, and if any glare is experienced when the lights are on.
Glare can be diminished by simply lowering the fixtures, screwing in reduced glare bulbs, or using portable light sources, such as lamps.
Regarding light switches, it’s best to move them away from behind countertops that can be difficult to access for a wheelchair user. Switches should be at least 36” high, with countertop switches relocated.
Another good idea is to add lights for navigation in the dark, such as placing LED lights along the floorboards, guiding the wheelchair down a hallway, or pinpointing where a door handle is located.
Wheelchair Accessible Bedrooms

If you’re dusting off your hands after widening doorways and are looking at how a bedroom needs to be renovated, have no fear. This is a relatively easy fix that requires more focus on the furniture size and placement.
For instance, bed dimensions need to be considered to optimize space for turning and maneuvering.
A full-size mattress is 54” wide, with queen sizes tacking on another 6”. The king-size is also 16” wider than the queen size.
The mattress needs to be positioned low enough to the ground so that the wheelchair user doesn’t have to struggle climbing up. A general mattress height below 21” should suffice, since the standard seat height of a wheelchair is 19” to 20”.
Here are some other tips to consider regarding furniture:
- For the bed and furniture, there needs to be at least a 36” clearance to enable turning and maneuvering.
- Dressers should have no more than four to five stacked drawers and closet rods should be lowered.
- Off the floor shelving is ideal for storing shoes and folded clothes. Keep the most frequently worn clothing on top and the least worn items on the bottom.
Wheelchair Accessible Bathroom
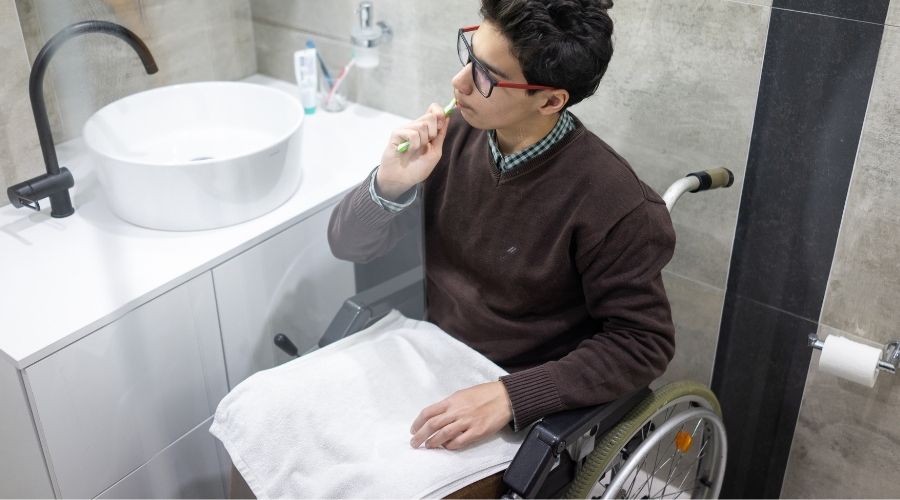
When it comes to how to make a home wheelchair accessible, the bathroom is one of the most challenging and potentially dangerous areas of the home for wheelchairs, due to the risk of slipping on wet surfaces.
Spacious bathrooms are easier to remodel, but even if you have a small bathroom, they can still be made accessible.
Stick to the standard 36” clearance between immovable barriers such as the toilet, sink, or bathtub to ease maneuvering. Unfortunately, this could also mean investing in plumbing renovations.
For the toilet, the ideal height is 17” to 19”, enabling the user to shift from chair to toilet seat comfortably.
To achieve this, you can simply purchase a taller toilet or a wall-mounted toilet designed for a specific height.
If you’re just shy of a suitable height for easy transfers, consider adding a thicker toilet seat to bump up the height, or utilize an elevated base.
Special toilet additions can also make the experience more enjoyable for a wheelchair user, such as…
- Placing two grab bars on the sides of the toilet for stability. You can also install bars on the side walls or rear wall.
- Installing a bidet, which requires less mobility than reaching for toilet paper.
- Place the toilet paper holder in front of the toilet seat or invest in a flush-mounted toilet paper holder.
As far as the sink is concerned, if it’s a wall-mounted design it should provide at least 27” of knee clearance granting the wheelchair user easier access to the faucet.
Opt for single-handle faucets, as this design is easier to turn on and off compared to a twist faucet that requires more strength.
The shower or tub requires special attention to prevent slipping and falling. Grab bars and a fixed shower seat increases stability and provide a comfortable setup for the wheelchair user.
If you’re keen on relaxing baths in a tub, then a walk-in design with a self-sealing door allows the user to enter without having to finagle over high tub walls.
Shower and tub floors should feature a textured surface to prevent slipping, which increases the risk of falling.
Of course, the faucets should be placed at an accessible height, with a handheld showerhead featuring a 60” hose.
Wheelchair Accessible Kitchen
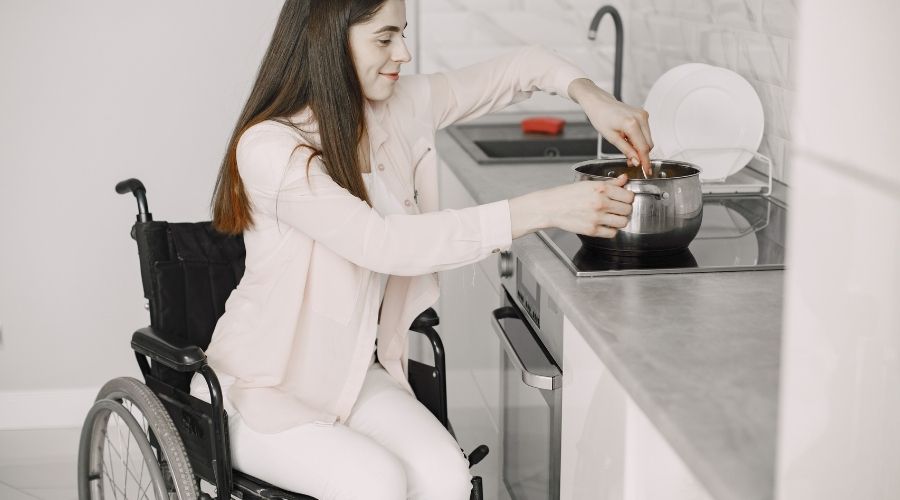
The kitchen is the heart of the home, and if you’re a wheelchair user who spends ample time here, then there are plenty of ways to make it much more accessible.
Remember the 36” clearance rule between furniture, cabinets, and appliances, with enough space to allow for turning.
Countertop height is crucial and must be lowered from the standard 36” to at least 28” for wheelchair users to reach. Ensure there is enough leg space for a wheelchair to fit comfortably underneath a countertop.
The kitchen sink also needs to have ample space underneath for the knees and legs, with drains that are strategically placed farther back away from the lower extremities.
Single-lever faucets are suitable, although there are hands-free sinks that don’t require much effort for those with limited hand mobility.
All kitchen cabinets should be lowered to a comfortable height depending on the wheelchair user, with the lower cabinets accommodating the knees and legs with plenty of space.
Store frequently used items in the lower cabinets so they’re easier to reach from a seated position.
The main kitchen appliances, such as the dishwasher, oven, and stove should be lowered to at least 31” too. Don’t forget to check that the stovetop controls are located at the front, so the individual won’t have to reach across hot burners.
How to Build Ramps for Home Accessibility
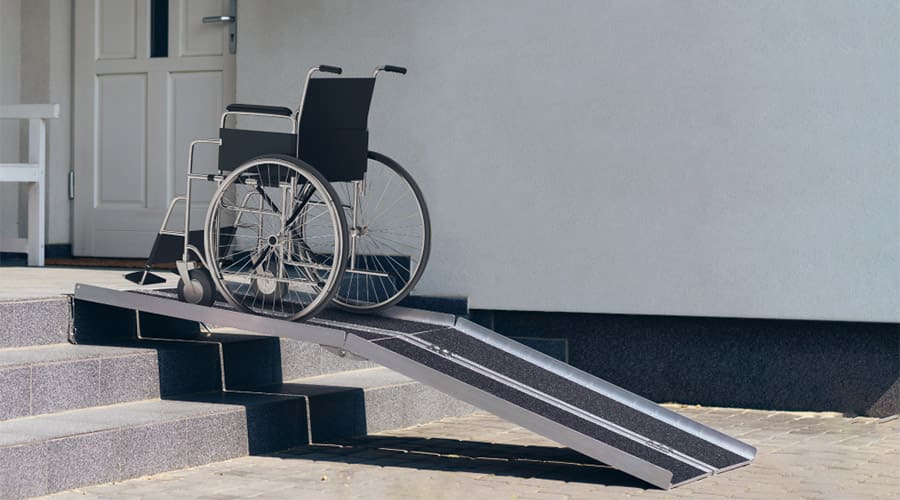
Elevated surfaces are a common challenge for mobility devices, and the almighty ramp is the ultimate solution to tackle it.
Wheelchair ramps are versatile, with a multitude of designs, materials, and sizes to choose from.
For households, free-standing and threshold ramps are the most common models.
Free-standing ramps are highly durable, often made from wood or aluminum. This type of ramp can be constructed for temporary or permanent use, with a straightforward design that is easy to customize.
Threshold ramps, on the other hand, are preferred for exterior steps and raised entrances. It’s also a great travel option for handicap vans to create a safe transfer over a curb. This type is often made of wood or plywood, and can also be customized to suit the user.
Final Thoughts on Wheelchair Accessible Home
Creating a wheelchair-accessible home takes careful planning to ensure the user can get around without any barriers or hazards.
While there are some quick fixes to add or take away space in hallways, doorways, and rooms, you might find that more intensive construction work is necessary to complete the project.
Nonetheless, the living environment is the one place where a wheelchair user should feel comfortable and well, right at home with easy accessibility.
Resources & References: